No products in the cart.

Have you seen it? That little crack in the brickwork on the side of your house, or maybe the mortar on your chimney is starting to look a little dusty and crumbly. It’s a gut punch, isn’t it? You immediately picture a worst-case scenario: a major, expensive project that takes forever and leaves your yard a total mess.
I’ve been there. I remember staring at a hairline crack in my own foundation and telling myself, "It's just part of the house's character." But deep down, I knew it was a problem that was only going to get worse.
The great news is, for most common masonry repairs, it doesn't have to be a nightmare. You don't need a professional crew or a week-long project. With the right approach and a tool that’s honestly a game-changer, you can handle these jobs yourself, feel surprisingly confident, and end up with a flawless finish that looks like it was done by a pro.
Let's be real. The main reason we put off cracked brick wall repair or crumbling mortar repair is the process itself. You probably envision yourself with a messy bucket of mortar and a grout bag that inevitably bursts, leaving a sloppy mess everywhere. You end up with more mortar on your jeans than in the actual cracks. The joints look uneven, the color is all wrong, and you're left feeling like you've made a bigger mess than you started with.
This old-school method of tuckpointing—scraping out old mortar and replacing it—is tedious, time-consuming, and let’s be honest, incredibly frustrating for anyone who isn't a seasoned mason. No wonder we avoid it.
But what if I told you there's a better way? A way that takes the mess, the frustration, and the guesswork out of the whole thing?
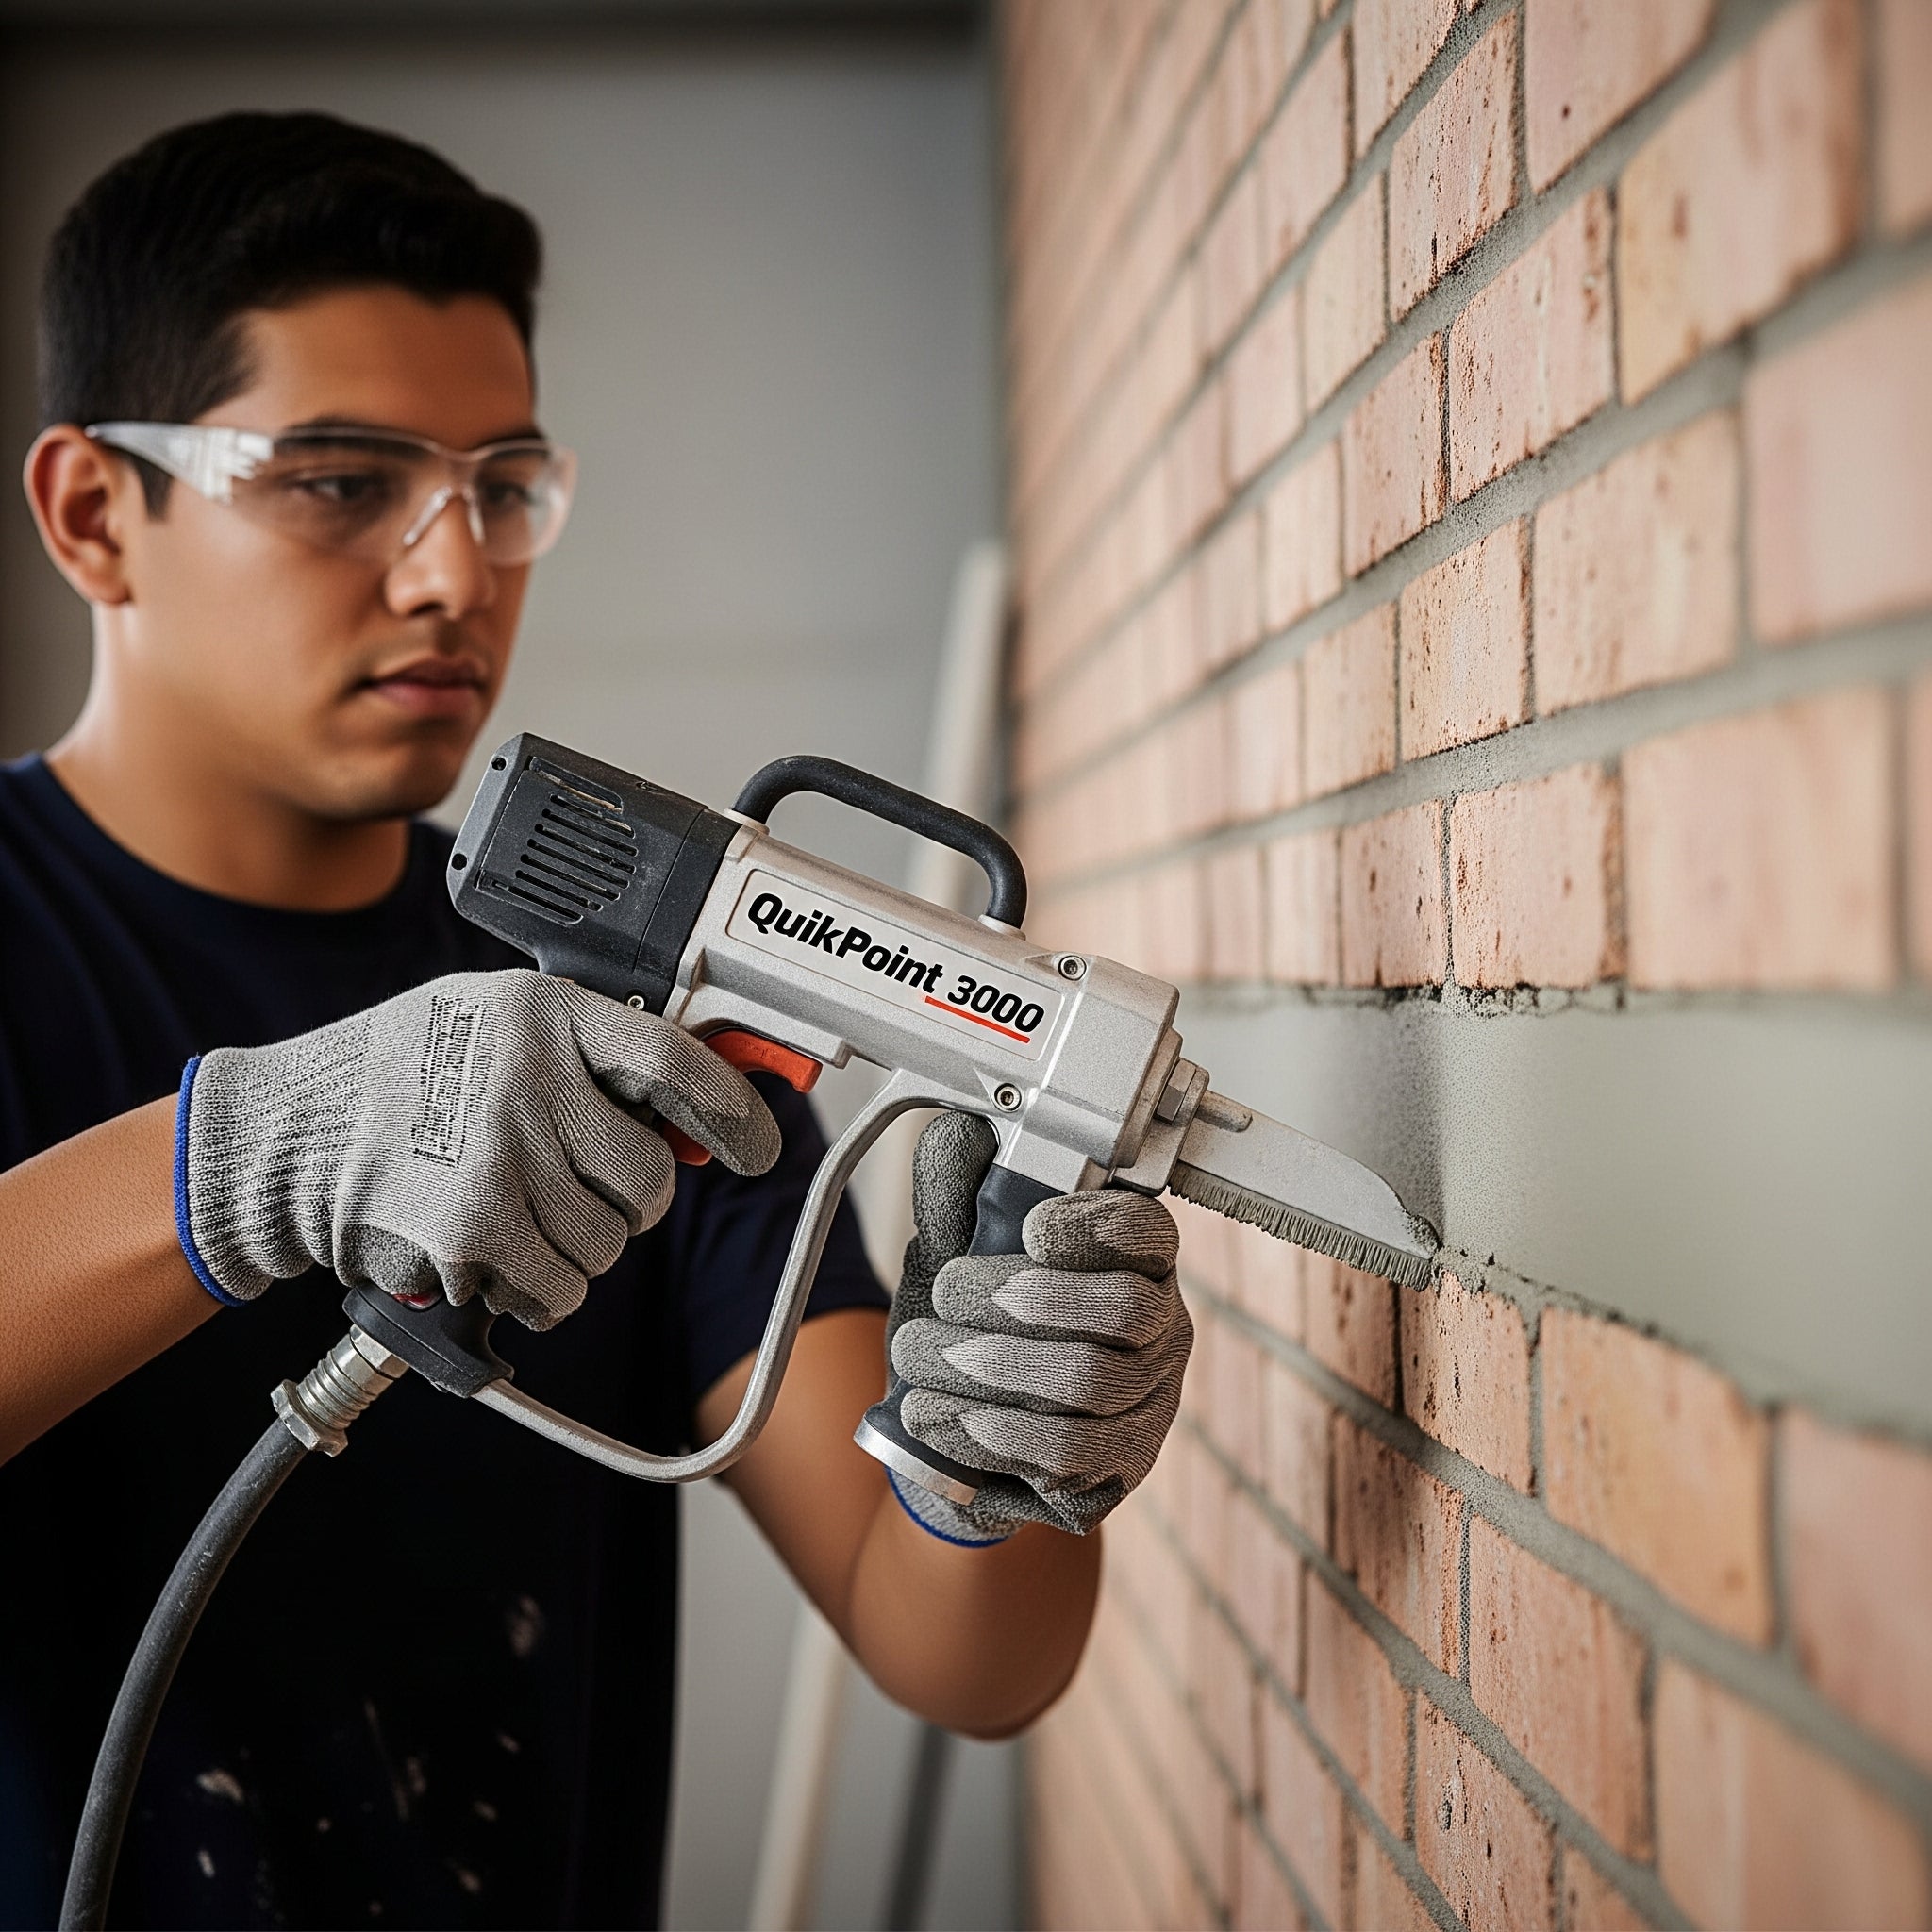
For years, I looked for a tool that could bridge the gap between "DIY disaster" and "skilled pro." Something that would give me professional precision without the years of practice. And honestly, the Quikpoint 3000 is it.
Think of it as the ultimate upgrade to a grout bag. This isn't just some gimmick; it's a complete system that turns your regular drill into a powerful mortar gun. Instead of squeezing a messy bag and hoping for the best, you just load the hopper with your mortar mix, snap it onto your drill, and with a simple press of the trigger, you get a steady, consistent flow of mortar exactly where you need it.
This is a game-changer for repairing masonry cracks because it allows for deep, full penetration. When you're pushing mortar in manually, it's so easy to leave behind air pockets or to not fill the joint completely. The pressurized action of the Quikpoint 3000 forces the mortar in tight, creating a stronger, more durable repair that actually lasts.
Let’s walk through how you can use this tool to confidently tackle those daunting masonry repair projects.
First, you need to understand the problem. Are we talking about hairline cracks, or are larger chunks of mortar just missing? Take a good look. This will tell you how much old material you need to get rid of.
Tools needed: Safety glasses (seriously, wear them!), chisel, hammer, wire brush.
The process:
Safety First, Always: Put on your safety glasses. Little bits of old mortar can fly off and you don't want to mess around with your eyes.
Remove the Old Stuff: Using a chisel and hammer, carefully scrape out the old, failing mortar. Don’t be shy about going deep. You want to create a clean, uniform joint so your new mortar has a solid place to bond.
Clean it Up: Once the old mortar is out, use a stiff wire brush to get rid of any lingering dust or debris. This is a critical step. A clean surface means a strong bond. Then, lightly mist the area with water. This prevents the bricks from sucking all the moisture out of your new mortar too quickly.

This is where a lot of people mess up. The secret to a perfect finish is a perfect mix. You need a consistency that’s a little wetter than what you might be used to—think more like a thick, but still pourable, oatmeal or pudding.
The process:
Choose the Right Mortar: For most home repairs, a Type N mortar is a good bet. It’s a solid, general-purpose mix perfect for most exterior walls.
Add Water Slowly: Mix your mortar in a bucket and add water a little at a time, stirring until you hit the right consistency. It should be just wet enough to flow easily but not so wet that it's soupy.
The "Trowel Test": A great way to test the consistency is to scoop some up with a trowel. It should hold its shape but also drip off in a slow, controlled manner.

This is the satisfying part! This is where you get to see the magic happen.
The process:
Load 'er Up: Scoop your perfectly mixed mortar into the hopper of your Quikpoint 3000. Don't overfill it.
Start Gunning: Attach the gun to your drill and start filling the joints. Work your way from the bottom up. You’ll be shocked at how fast and clean the process is. The pressurized flow of the Quikpoint 3000 forces the mortar deep into the joint, ensuring a complete and solid fill every time.
The "I can't believe it's this easy" Moment: You'll immediately notice the difference. No messy squeezing, no uneven joints. Just a steady, controlled stream of mortar filling the void. It’s genuinely satisfying.

After you’ve filled the joints, you need to let the mortar set for a bit before you can finish it. This is called "tooling."
The process:
Wait for the Right Time: You need to wait until the mortar has stiffened up a bit. It should feel firm to the touch but still be pliable enough to shape. This usually takes about 30 to 60 minutes, depending on the weather.
Tool the Joints: Grab a brick jointer tool (it looks like a metal rod with a curved end) and use it to compress and smooth the mortar, creating that classic concave look. This not only makes it look pro but also compacts the mortar, making it even more durable and water-resistant.
Final Cleanup: Once the mortar is completely cured (give it a day or two), you can use a stiff brush to gently clean off any residue from the bricks.
The first time I used the Quikpoint 3000 for a repair, I was legitimately amazed. The work was done in a fraction of the time I expected, and the finish was ten times better than anything I could have done with a messy grout bag. The joints were uniform, the mortar was packed in tight, and the whole repair looked like it had been done by a pro.
That feeling of looking at a perfectly repaired wall—a wall you fixed yourself—is incredibly rewarding. It's not just about saving money on a contractor. It's about the confidence that comes from knowing you can handle these kinds of home repairs with a reliable tool by your side.
So, if you’re tired of looking at those cracked walls and dreaming of a flawless finish, it might be time to put down the trowel and pick up a better solution. Your home will thank you, and you'll be left with the confidence to tackle your next home project.
Ready to finally tackle your masonry repairs with confidence? Check out the Quikpoint 3000 mortar gun and see how easy it can be.
