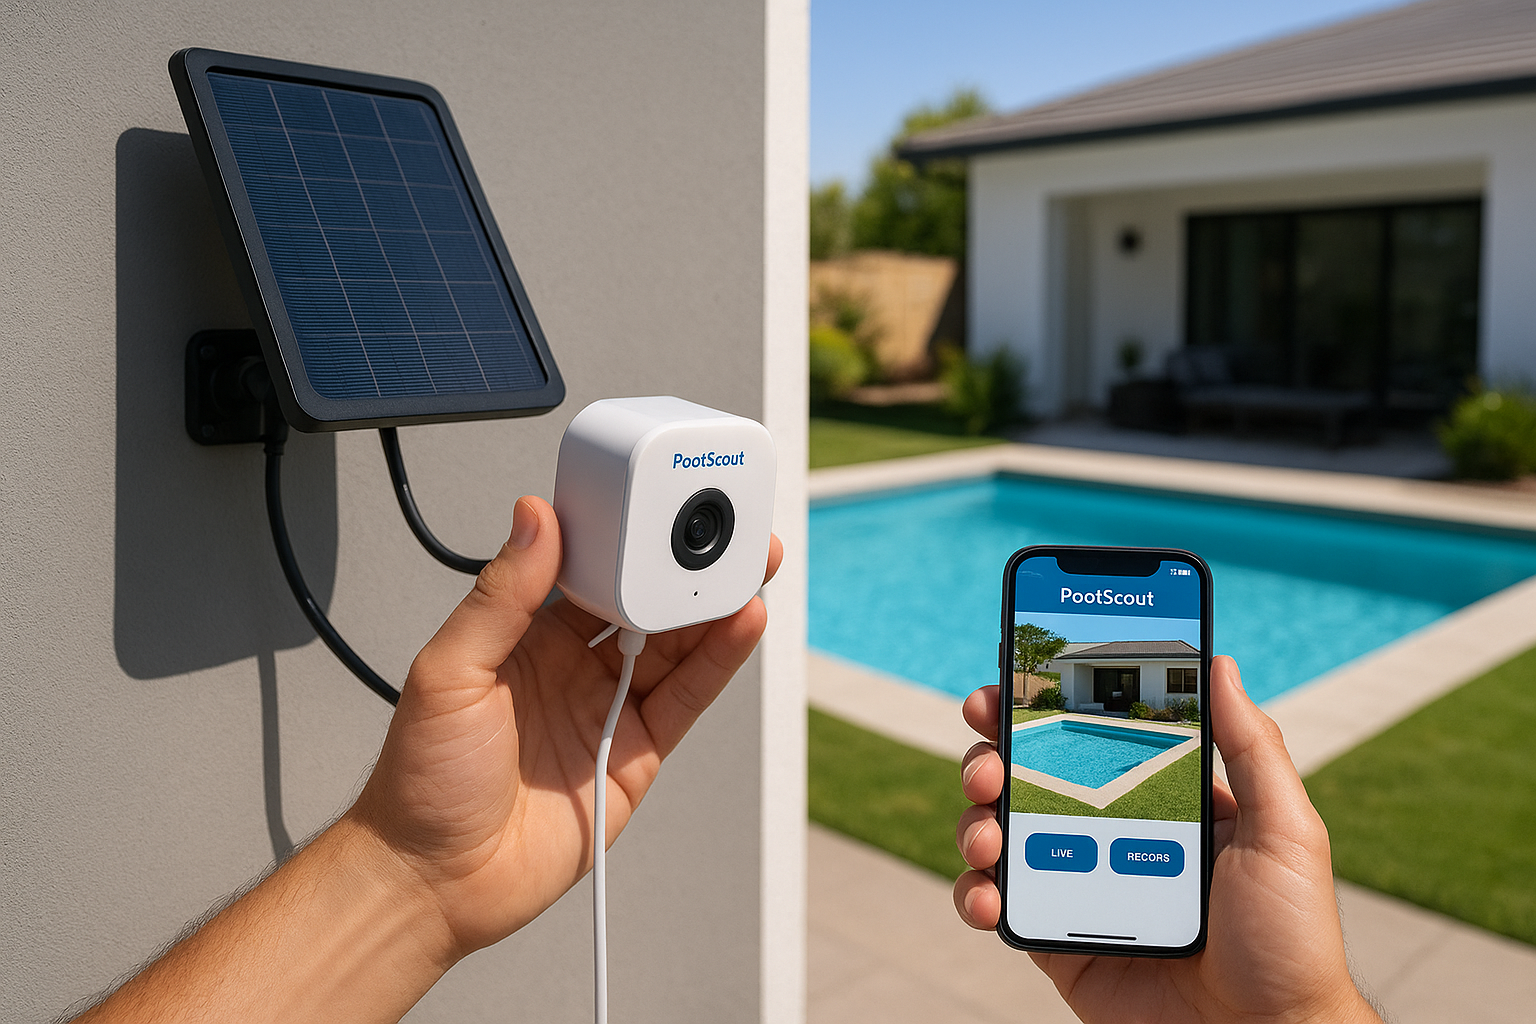
Keeping your pool safe and secure doesn’t have to be complicated. The PoolScout Wireless Kit makes it easy to monitor your pool area with smart, solar-powered technology — no messy wiring, drilling, or professional installation needed. Whether you’re a first-time user or upgrading your pool safety setup, you can have your PoolScout fully operational in under 30 minutes.
Here’s a simple step-by-step guide to get you started.
What You’ll Need
Before you begin, make sure you have:
-
The PoolScout Wireless Camera Kit (camera, solar panel, and mounting accessories)
-
A WiFi connection with good signal near your pool
-
A smartphone or tablet with the PoolScout app installed
-
A screwdriver and ladder (if mounting high)
Step 1: Choose the Best Mounting Spot
Positioning is key for optimal performance. Pick a spot with a clear view of your pool and consistent sunlight for the solar panel.
Tips:
-
Mount the camera about 7–10 feet high for full pool coverage.
-
Avoid direct reflections from water or nearby glass.
-
Ensure your WiFi signal is strong in this location (test with your phone first).
Step 2: Mount the PoolScout Camera
-
Use the included mounting bracket to secure the camera to your chosen surface — wall, fence, or post.
-
Tighten the screws to hold it firmly in place.
-
Adjust the camera angle for full pool visibility — especially entry points, steps, and deep ends.
The camera is weatherproof, so it’s safe for outdoor use year-round.
Step 3: Connect the Solar Panel
The included solar panel keeps your PoolScout powered 24/7 without plugging in.
-
Mount the solar panel in a sunny location using the provided bracket.
-
Connect the panel’s cable to the charging port on the camera.
-
Check the LED indicator — a steady light means charging is active.
No need to worry about batteries or power outages — the solar panel ensures continuous operation.
Step 4: Configure WiFi and the PoolScout App
Now it’s time to get connected.
-
Download and open the PoolScout App (available on iOS and Android).
-
Tap “Add Device” and follow the on-screen instructions.
-
Connect your camera to your home WiFi network.
-
Once connected, you’ll see a live video feed from your camera in the app.
You can view the pool in real time, receive alerts, and review recordings — all from your smartphone.
Step 5: Set Up Monitoring Zones and Alerts
PoolScout’s AI-powered zone setup lets you define areas of interest, like:
-
Pool edges
-
Diving boards or ladders
-
Gate entrances
In the app, draw or select zones where you want the system to detect motion or activity. You can then customize alerts for when people, pets, or unexpected movement is detected.
This ensures you’re instantly notified of activity that matters — improving safety without false alarms.
Step 6: Test Your System
Before finishing up:
-
Check live video quality and adjust the camera angle if needed.
-
Walk near your defined zones to confirm that motion detection works correctly.
-
Verify solar charging and WiFi signal stability.
If everything looks good — congratulations! Your PoolScout is ready to monitor and protect your pool area automatically.
Enjoy Hands-Free Pool Monitoring
In just 30 minutes, you’ve set up a smart, wireless, solar-powered pool safety system. The PoolScout Wireless Kit gives you peace of mind with:
- Easy DIY installation
- Continuous solar power
- Customizable motion zones
- Instant mobile alerts and video access
With PoolScout, your pool is always under watch — even when you’re not around. Safe, smart, and stress-free.


